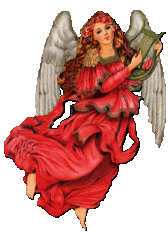
Wings!!
Using this tutorial you can
add
animated wings to almost anything!
Warning: this is not an easy
tutorial.
BUT I have every confidence YOU can do it!
Download this zip file containing the following files.
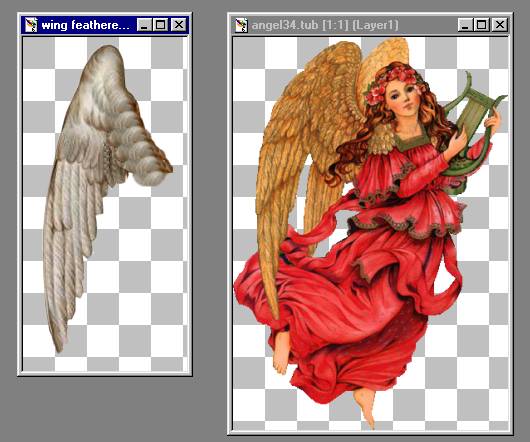
Save the wing as a tube.
You will duplicate the layer it is on and mirror it.
That's why you only need one.
File/Export/Picture tube/Name it.
Open the Angel in PSP.
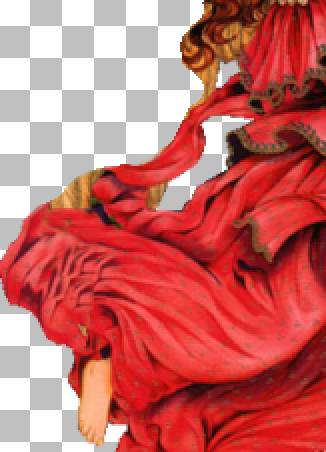
Using the eraser tool, 100% hardness,
erase her wings. When getting close to her body and hair,
set the eraser at 0% hardness.
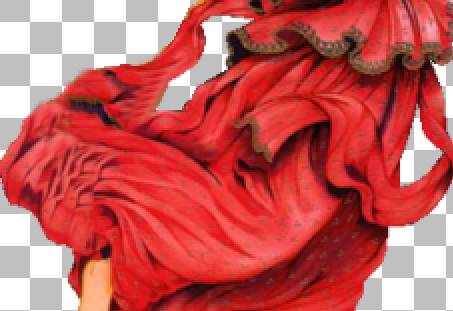
Next click on the CLONE TOOL,
Set at 0% hardness. I change the round size of
the
brush as needed for the area I'm cloning.
Experiment a bit.
Right click to set the clone area then
click/release the left button to 'tap' in cloned areas.
If it doesn't look right undo and then redo.
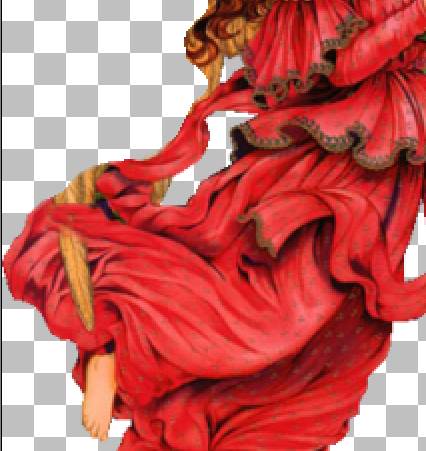
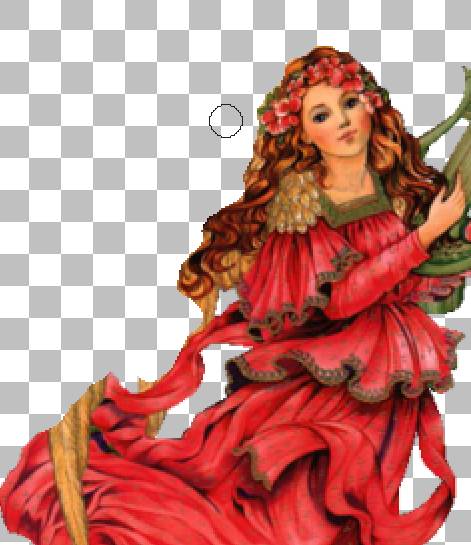
I filled in the area around the hair with more hair.
After you get her cloned the way you
like,
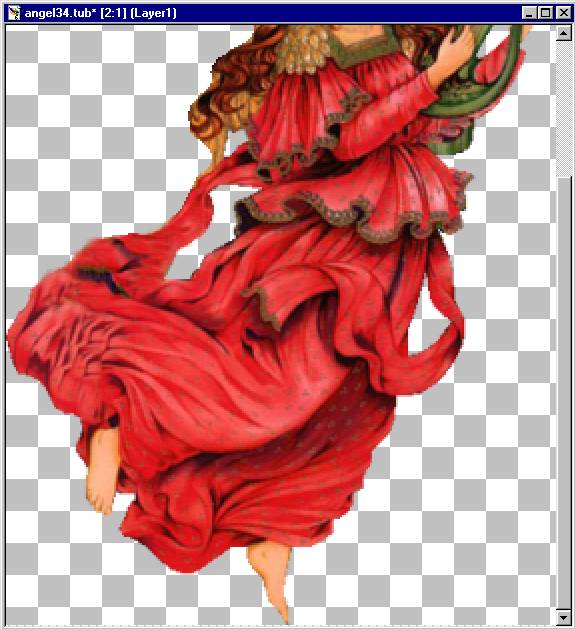
ADD A LAYER.
Add the wing, I resized to 70%.
Position in place. Duplicate the layer and Mirror.
Ta Da! Two wings. Position at the widest span you want.
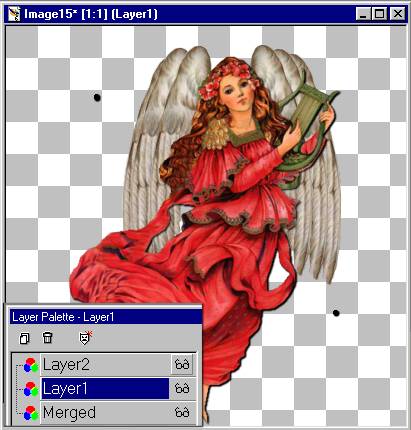
Click on the angel layer.
with the paint brush set on 100% hardness
make two aligning dots.
Anywhere out of the way of the wings is good.

Again make sure you dot the angel layer.
(OK....This next section is not as hard as it sounds!)
Now..... after you have the first set of wings
in place,
hold the shift button down and hit D to duplicate the image.
Merge the visible layers on the duplicated layer into one layer.
Move aside for now.
Reposition the original image wings bringing
them together slightly.
Shift D merge visible layers. Move Aside
Reposition the original image wings bringing
them together slightly more.
Shift D merge visible layers. Move Aside.
Phew! Now..... shrink the original image. Done
with that.
You should now have three images, merged, with wings slightly different.
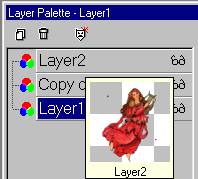
Click on the second image, CTRL C to copy it,
Click on the first image, CTRL L to paste a new layer.
Click on the third image CTRL C.
Click on the first image, CTRL L to paste the 3rd layer.
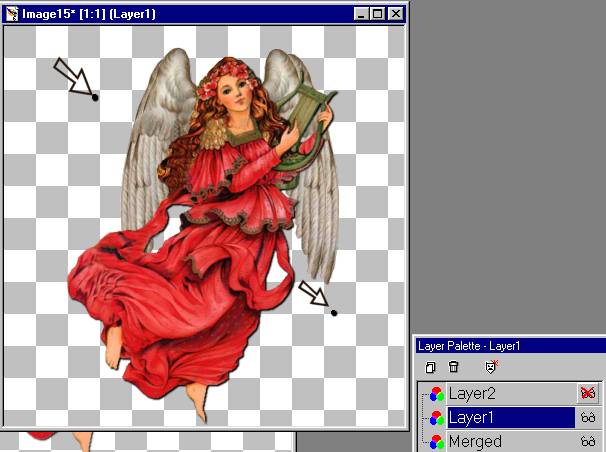
Align the dots.
Click the layers on and off to see the angels
movement.
Click on each layer and erase the dots.
Save as a PSP file to preserve the layers for the Animation shop.