Tutorial 11
I was sent this gif and asked how to make it.
So...here it is.
Please keep in mind that the
image/layer names
might not match yours. I take the screen shots as I do the steps,
Crop them, then go back and add the text later
adding more screen shots if they are needed. :)
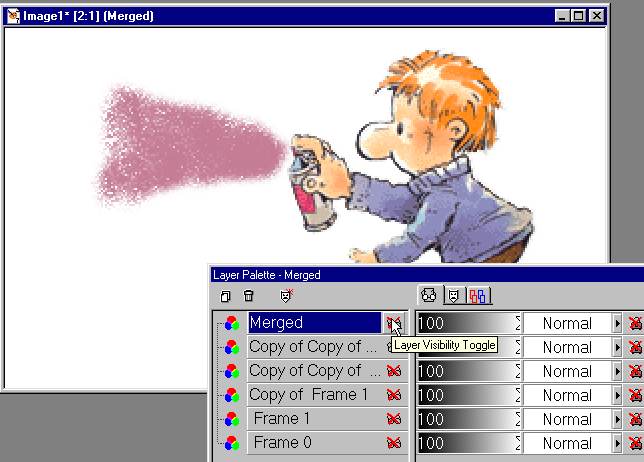
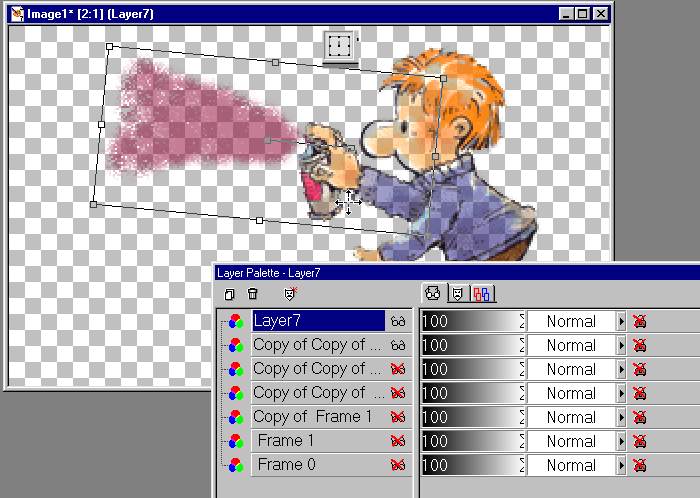
Here is the psp file in layers.
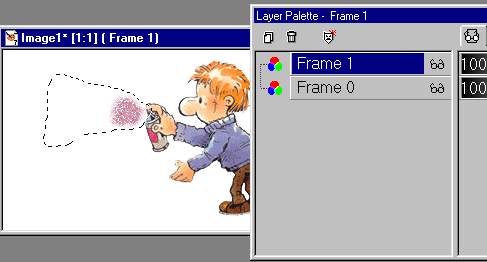
Open the file in psp. Open the layer palette. You can see the layers.
All you need to use are Frame 0 and 1.
You can delete the others if you like.
I left them to make it easy for those who want to see all the layers.
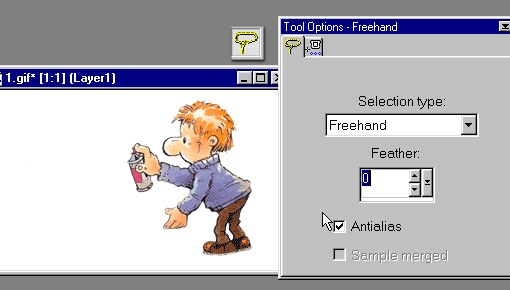
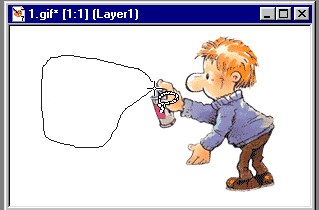
Click on frame 1, click on the Lasso icon,

make a paint blast shape.
Pick the color you want your message in, click on the paint can icon.
'Spray' a bit of color as shown. I just just the default setting.
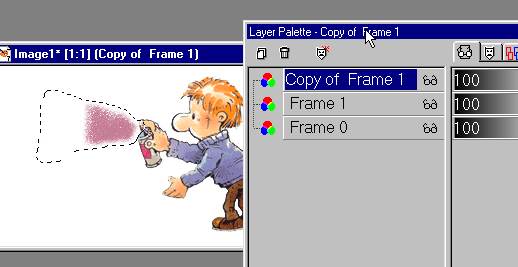
Duplicate the layer. Add a bit more color.
The reason I use the Spray can is so the look is 'splotchy'
Duplicate the layer, add more color.
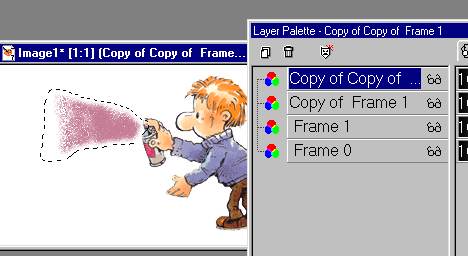
Duplicate the layer one last time.
Finish the color to the edge.
Selection/select none.
NEW ADDITION!
CTRL D to duplicate the entire image.
Delete all the layers on the duplicated image
except the layer we are working on.
CTRL D to duplicate this whole layer again.
Ok...we should have an image will all the layers,
and two separate images with one layer each.
Click on the one layer each image, and continue with the tutorial.
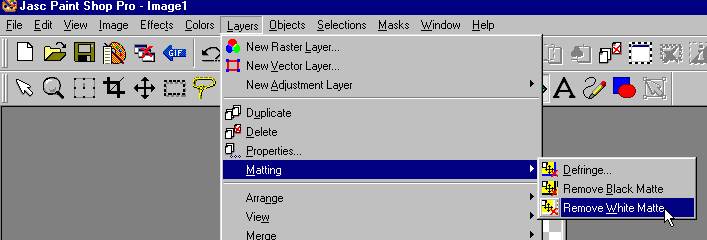
Use the white out filter to get rid of the white
background.
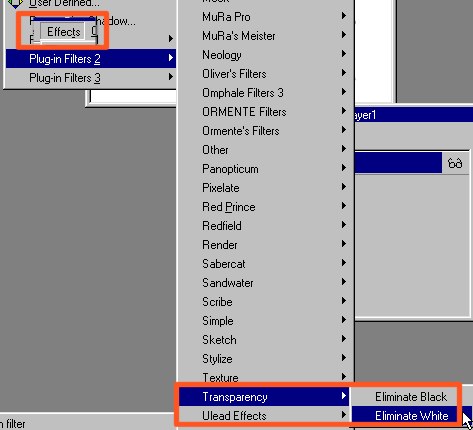
Click on Layers/Matting/Remove white Matte
to get all the color back with none of the white background.
Click on the lasso icon, surround the paint and arm as shown,
Click on the selection to float, add a layer,
drag it under the floating layer, select/select none.
(Like we did in the kitten hug tutorial)

Duplicate the layer. Click on the Deformation tool.
Tilt the arm a bit by moving the center arm.
Click on the tool palette and apply.
Add a layer. Fill with white and merge to the tilted arm
layer.
Do the same with the other layer.